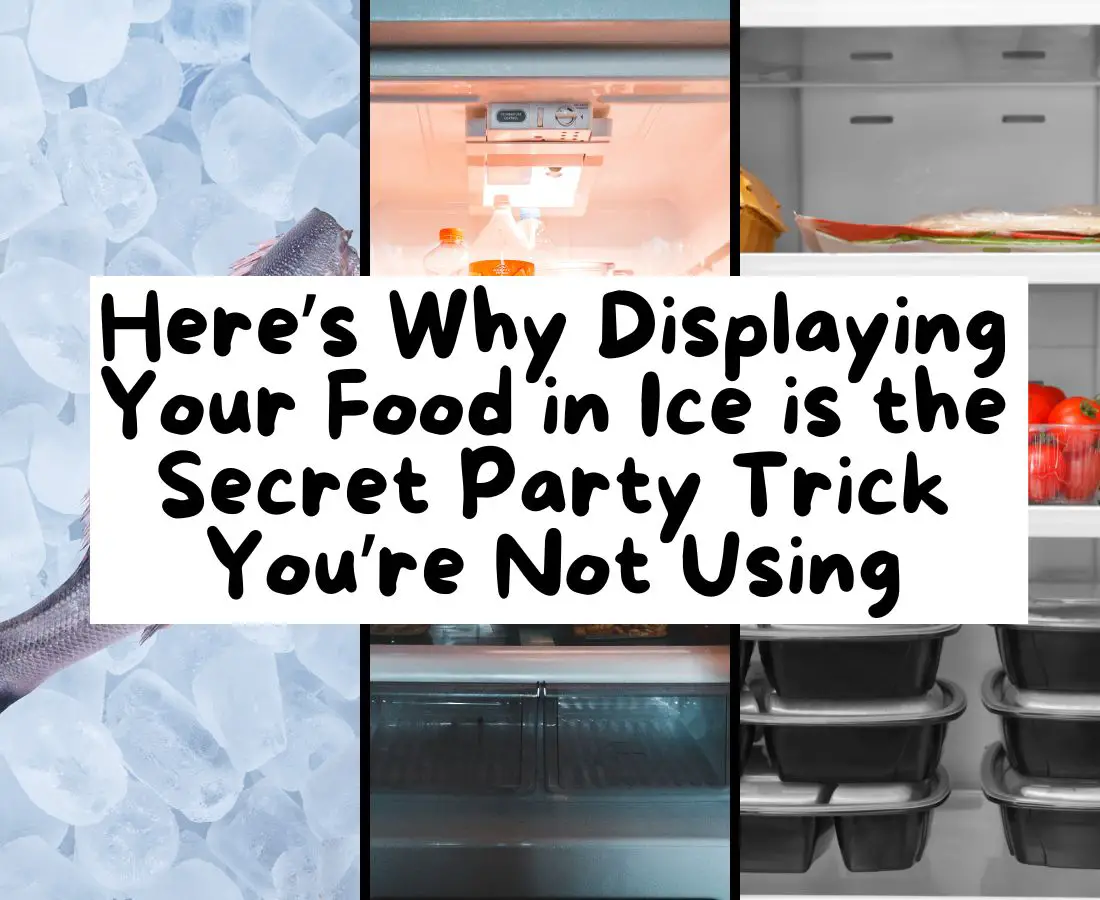
If you’re into food styling or you’re just looking to impress your guests, this tip is going to blow your mind.
When you display food in ice the food must
I’ve been blogging full-time for a while now, and let me tell you, I’ve seen some truly questionable food displays. One thing I’ve noticed people get wrong all the time is how to present food on ice. I get it, we all want that stunning, Instagram-worthy look for our spreads, but if you don’t display your food on ice the right way, you might as well not bother. Trust me on this one.
Why Ice is Your Secret Weapon for Food Display
Let’s be real. Ice isn’t just for chilling drinks. When it comes to food presentation, ice can elevate your display in a way nothing else can. From seafood platters to desserts, it’s all about creating the right visual balance.
But—and here’s the kicker—you have to do it right. Ice should enhance your food, not drown it. If you’re not careful, you could end up with soggy food, and that’s a hard pass.
Here’s the secret: use ice strategically, not haphazardly.
Step 1: Start with a Solid Base
This site contains affiliate links, please read our disclosure for more information. The content on this website was created with the help of AI.
When displaying food on ice, I always build a solid foundation. It’s like setting up a stage for your food to perform.
- Use a shallow dish or tray to create a stable base.
- Fill it with ice, but make sure you don’t fill it to the brim. Leave some space at the top for your food to breathe.
- Ice should be the frame, not the star of the show.
Step 2: Layer the Ice for Better Presentation
I’ve learned over the years that layering the ice works wonders. Don’t just throw all the ice in one spot.
- Layer it in a way that creates a slight slope.
- This will give your food a natural “lift” that keeps it looking fresh and makes it stand out.
Step 3: Keep Food Above the Ice
I can’t stress this enough—keep your food from sitting directly on the ice.
- Use bowls, small platters, or even food-safe baskets to elevate your food.
- This keeps the food dry and prevents it from becoming a soggy mess.
- You don’t want your shrimp cocktail swimming in ice water, right? That’s just sad.
Step 4: Use Ice Cubes, Not Crushed Ice
If you’re like me, you’ve probably used crushed ice in the past to give a more “chilled” effect.
But here’s the thing: crushed ice melts faster and doesn’t hold the food up the way solid cubes do.
- Go for large, clear cubes for a sleek look.
- They’ll stay frozen longer and won’t melt into a puddle right under your food.
Step 5: Garnish Strategically for Impact
Okay, now this is the fun part. Garnishing can take your ice display from basic to breathtaking.
- Use fresh herbs, citrus slices, or edible flowers to add pops of color that will make your food pop against the cool backdrop of the ice.
- Be creative! Presentation is everything in food styling.
I’ve learned a thing or two about how to display food on ice that’ll leave your guests in awe.
So, if you want to make your ice displays as stunning as your food, these five tips are for you!
Step 6: Keep Ice Layers Tidy
One of the biggest mistakes I see people make is throwing ice into a dish haphazardly. I get it—you’re excited about your food, but how you layer your ice matters more than you think.
- Don’t just dump the ice in one big pile.
- Start by creating an even layer, and then build from there.
- A clean, uniform layer will keep everything looking neat and professional.
Step 7: Choose the Right Ice
I cannot tell you how many times I’ve seen people use ice that looks cloudy or weak. Clear ice is the way to go.
Here’s why:
- It’s more visually appealing—you get that crisp, clean look.
- Clear ice lasts longer, so your food stays fresh longer.
- Ice molds or ice balls are great for larger displays and make everything look so much more polished.
So, next time, skip the bag of random ice cubes from the freezer. Your food deserves better.
Step 8: Don’t Forget About Elevation
I learned this trick from an event I once helped with, and it was a game-changer. Elevating your food above the ice is key to making everything look so much more elegant.
- Use small platters, trays, or even upturned bowls to give your food that elevated look.
- This not only adds a sense of luxury, but it also keeps your food dry and crisp, preventing the dreaded soggy effect.
Step 9: Chill Your Dishes Before Displaying
This one might seem obvious, but trust me, you need to chill your dishes before placing them on ice.
- If your platters or serving bowls are warm, they will melt the ice faster.
- Plus, cold dishes will keep everything looking fresh longer, giving your ice display a nice, extended life span.
Step 10: Ice and Food Should Be in Harmony
Okay, this one’s a bit of an aesthetic trick I always keep in mind. Your ice display and food should complement each other, not compete for attention.
- If you’re displaying seafood, go for a minimalist ice display, keeping the focus on the seafood itself.
- If you have colorful desserts, you can use a more playful ice arrangement that matches the vibrant colors.
I love matching the vibe of the display to the food. It brings everything together in a way that feels cohesive and purposeful.
Final Thoughts: Less is More
When I’m displaying food on ice, I like to keep it simple but elegant.
Remember: You want the food to speak for itself. Ice should be the silent partner, not the star of the show. Too much ice or the wrong kind of ice can steal the spotlight. Keep it fresh, neat, and functional.
I promise, once you get this ice trick down, your food displays will look like something straight out of a high-end food magazine. Just follow these steps and watch your food go from “meh” to “wow!”
So, are you ready to step up your food display game? I thought so.