
Hey friend, if you’ve ever been to a party or gathering and found yourself swooning over that beautiful spread of meats, cheeses, fruits, and little nibbles—well, I totally get it.
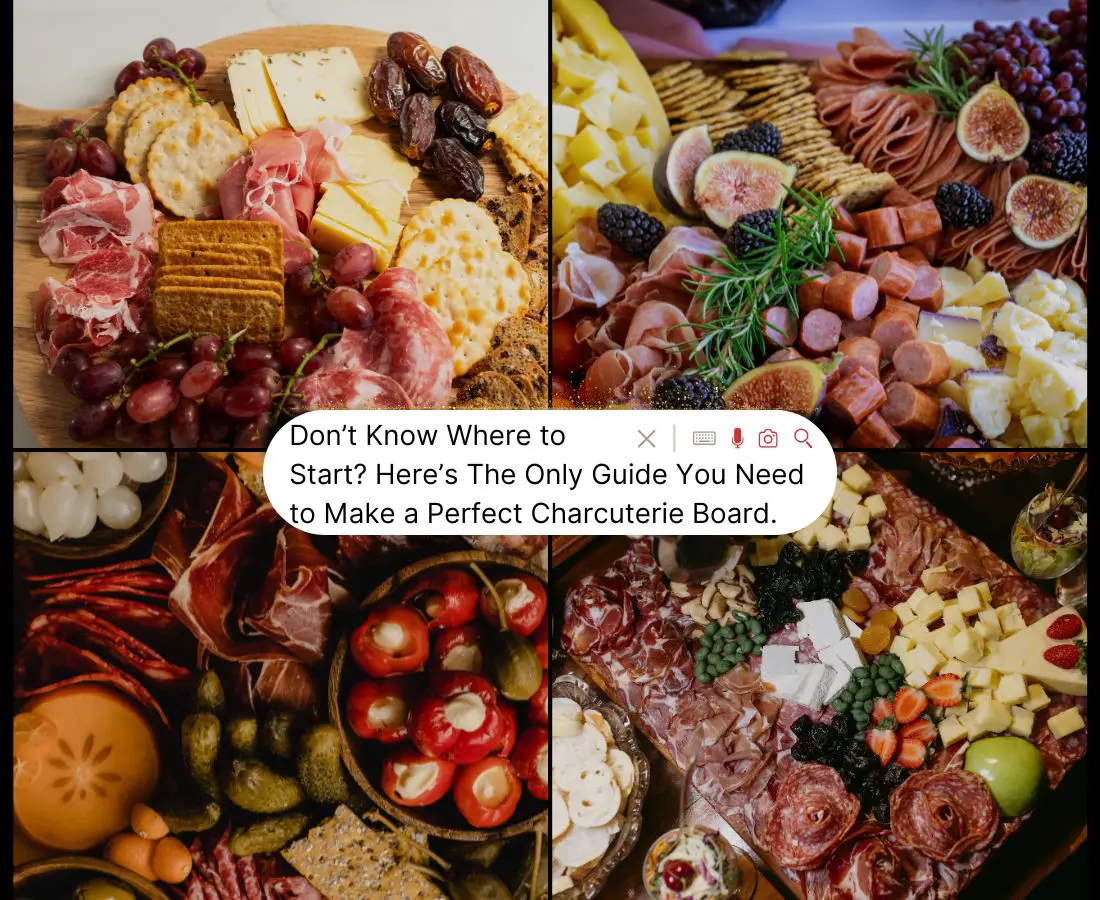
How to make a charcuterie board
I mean, who wouldn’t want a charcuterie board? They look impressive, taste amazing, and are way easier to put together than they seem.
So, today I’m going to share with you how you can easily make one that’ll have people begging you for the recipe (and probably a follow on your Insta).
Let’s dive in! Here’s how to make a charcuterie board that’ll be the star of the party.
1. Pick the Right Board or Platter
First thing’s first: you need something to arrange everything on.
This site contains affiliate links, please read our disclosure for more information. The content on this website was created with the help of AI.
Don’t stress—it doesn’t need to be fancy.
A wooden cutting board works fine, or a big platter, or even a clean marble slab.
Just make sure it’s big enough to hold all your delicious ingredients without crowding them.
Trust me, nothing looks worse than a cluttered charcuterie board.
2. Choose Your Meats
Next up, the meats.
This is where you can really get creative.
You’ll want to pick a few different types of meats—try a mix of soft and hard textures.
I usually go for prosciutto (because it’s a classic), some salami, and maybe even a smoked sausage or chorizo.
These meats offer a range of flavors and textures that make your board stand out.
A good rule of thumb? You want at least 3 to 4 types of meat.
3. Add a Variety of Cheeses
Now, cheese is what really sets the charcuterie board apart.
You’ll want to get a variety of cheeses—soft, hard, mild, and sharp.
I usually pick one soft cheese (like Brie or goat cheese), a sharp cheese (like cheddar or blue cheese), and a semi-soft cheese (think gouda or havarti).
Don’t forget to leave some space for the cheese to breathe. It helps everything taste better!
4. Fill the Gaps with Fruits and Veggies
Alright, now comes the fun part—filling in the gaps.
You’ll want some fresh fruits and veggies to balance out all the meats and cheeses.
I usually add grapes (they’re sweet and super easy), figs (if you’re feeling fancy), and sliced apples or pears.
If you want to add a little color, try throwing in some baby carrots, olives, or even a few cherry tomatoes. The key is to mix up the colors and textures.
5. Add the Finishing Touches
Finally, you’ve got to add some finishing touches.
Think nuts (almonds, walnuts, or pistachios), honey or jam (I love fig jam), and maybe a few crackers or baguette slices.
And, here’s my little pro tip: Add a couple of small bowls for the jams, dips, and nuts.
It helps with the overall presentation and keeps things organized.
Make It Beautiful (But Don’t Overthink It)
The final step to creating a killer charcuterie board is making it look as amazing as it tastes.
Don’t stress too much about how it looks—just start by laying out the larger items first (cheeses and meats) and fill in with the fruits, nuts, and other smaller bites.
The key is to make sure everything is accessible and easy to grab. Arrange everything loosely, so it looks more natural and inviting.
6. Get Creative with Spreads and Dips
To elevate your charcuterie board even further, don’t forget about spreads and dips. They can really add a burst of flavor to the whole spread.
A little hummus, olive tapenade, or mustard (I love whole grain mustard) can bring a whole new layer to the experience.
These small details can make your board look more gourmet without a lot of extra effort. Plus, they give your guests something to dip those crackers into!
7. Balance the Flavors
You want to make sure your charcuterie board has a good balance of flavors. You don’t want everything to be too salty or too sweet. The meats and cheeses are usually rich, so you’ll want to balance that out with something fresh and light, like fruits or veggies.
Try adding a few pickles or sweet chutneys to contrast with the salty meats. A balance between creamy, tangy, sweet, and savory is key to keeping your guests reaching for more.
8. Don’t Forget the Drinks
Pairing the right drink with your charcuterie board can make a huge difference. Whether it’s wine, beer, or even a mocktail, having a good drink selection to go with your board is essential.
If you’re serving wine, I recommend a bold red like Cabernet Sauvignon or a crisp white like Sauvignon Blanc. Both are crowd-pleasers that complement the richness of the meats and cheeses.
9. Go for Seasonal Ingredients
Making your charcuterie board seasonal is a great way to keep things interesting and fresh. Try swapping out fruits and nuts depending on the time of year. For example, pomegranate seeds or citrus slices are perfect for winter, while berries and grapes are great in the summer.
Seasonal ingredients add color and freshness to your board, plus they keep it feeling relevant and trendy.
10. Set Up a “Build Your Own” Charcuterie Experience
If you really want to impress your guests, set up a DIY charcuterie station. Lay out all the meats, cheeses, spreads, and accompaniments separately and let everyone build their own custom plates.
It’s interactive, fun, and gives people the freedom to create something they’ll enjoy—plus, it’s a great conversation starter!
Wrapping It Up…
So there you have it—a simple, delicious, and seriously impressive charcuterie board that’ll have your guests raving.
Remember, it doesn’t need to be perfect. Just have fun with it and go with what feels good. Once you get the hang of it, you’ll be whipping these boards up for any occasion, from casual hangouts to fancy dinners.
Trust me, making a charcuterie board is more about confidence than skill, and you’ve totally got that.
What are you waiting for? Go ahead and wow your guests with your newfound skills!
Enjoy and let me know how it turns out!